Blog
How to Easily Claim Your Active Developer Badge on Discord (2024 Guide)
To claim the Active Developer Badge on Discord, follow these steps:
Step 1: Create a Discord Server
- Open Discord: Launch the Discord desktop app.
- Create Server: Select “Add a Server” > “Create My Own” > Name your server > Create.
- Set Up Community: Go to server settings, enable community features by selecting “Community” > “Get Started” > “Next” > “Next” > “Agree” > “Finish Setup”.
Step 2: Create a New Application and Add a Bot
- Access Developer Portal: Visit Discord Developer Portal.
- New Application: Click “New Application”, name it, and select “Create”.
- Add Bot: Go to the “Bot” tab and click “Add Bot” to create your bot.
Step 3: Configure Bot Settings
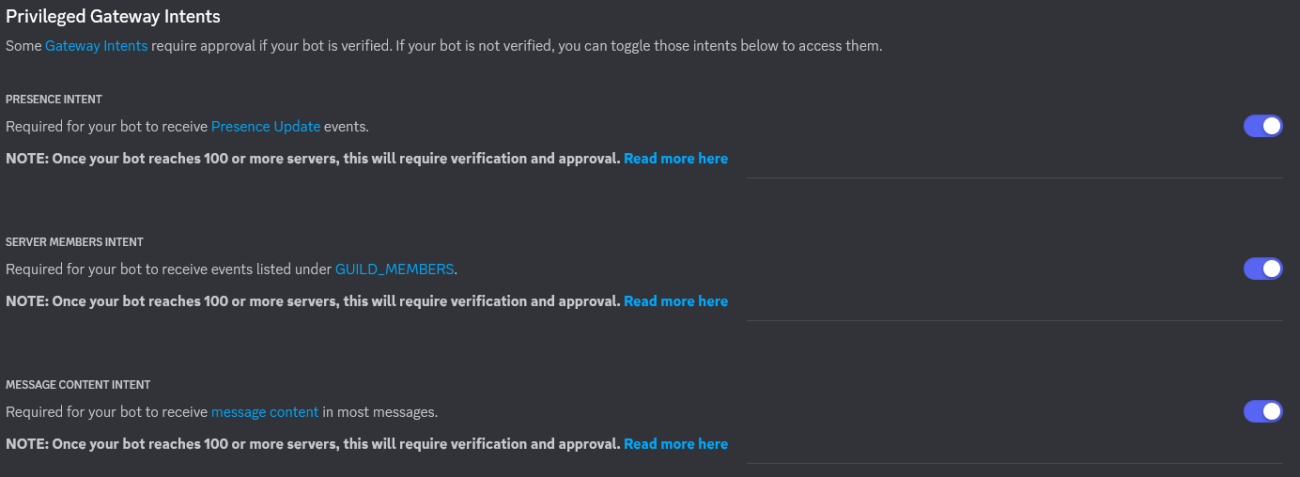
1. Enable Intents: Scroll down to enable all 3 privileged gateway intents and save changes.
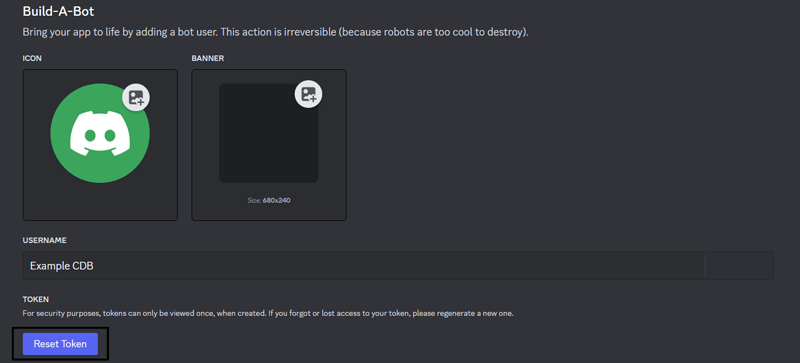
2. Reset Token: Scroll up, reset the token, and copy it for later use.
Step 4: Host Your Bot with BotGhost
- BotGhost Setup: Go to BotGhost, create an account, and link your bot by pasting the copied token.
- Activate Command: Enable the “Active Developer Badge” module and save changes, if there isn’t, it’s not necessary.
Step 5: Invite the Bot and Run a Command
- Invite Bot: From the BotGhost dashboard, invite the bot to your Discord server.
- Run Command: In your server’s text channel, use the
/ping command.
Step 6: Claim Your Badge
- Wait for Confirmation: After 24 hours, visit the Active Developer Badge page.
- Select Bot and Server: Choose your bot, select a community server, and set up an announcement channel.
- Claim Badge: Click “Claim” to get your Active Developer Badge.
Maintenance
To retain the badge, you need to run the /ping or other commands at least once every 30 days.


